This guide will walk you through the process of attaching comments to risks while the risk is already associated to a remediation project.
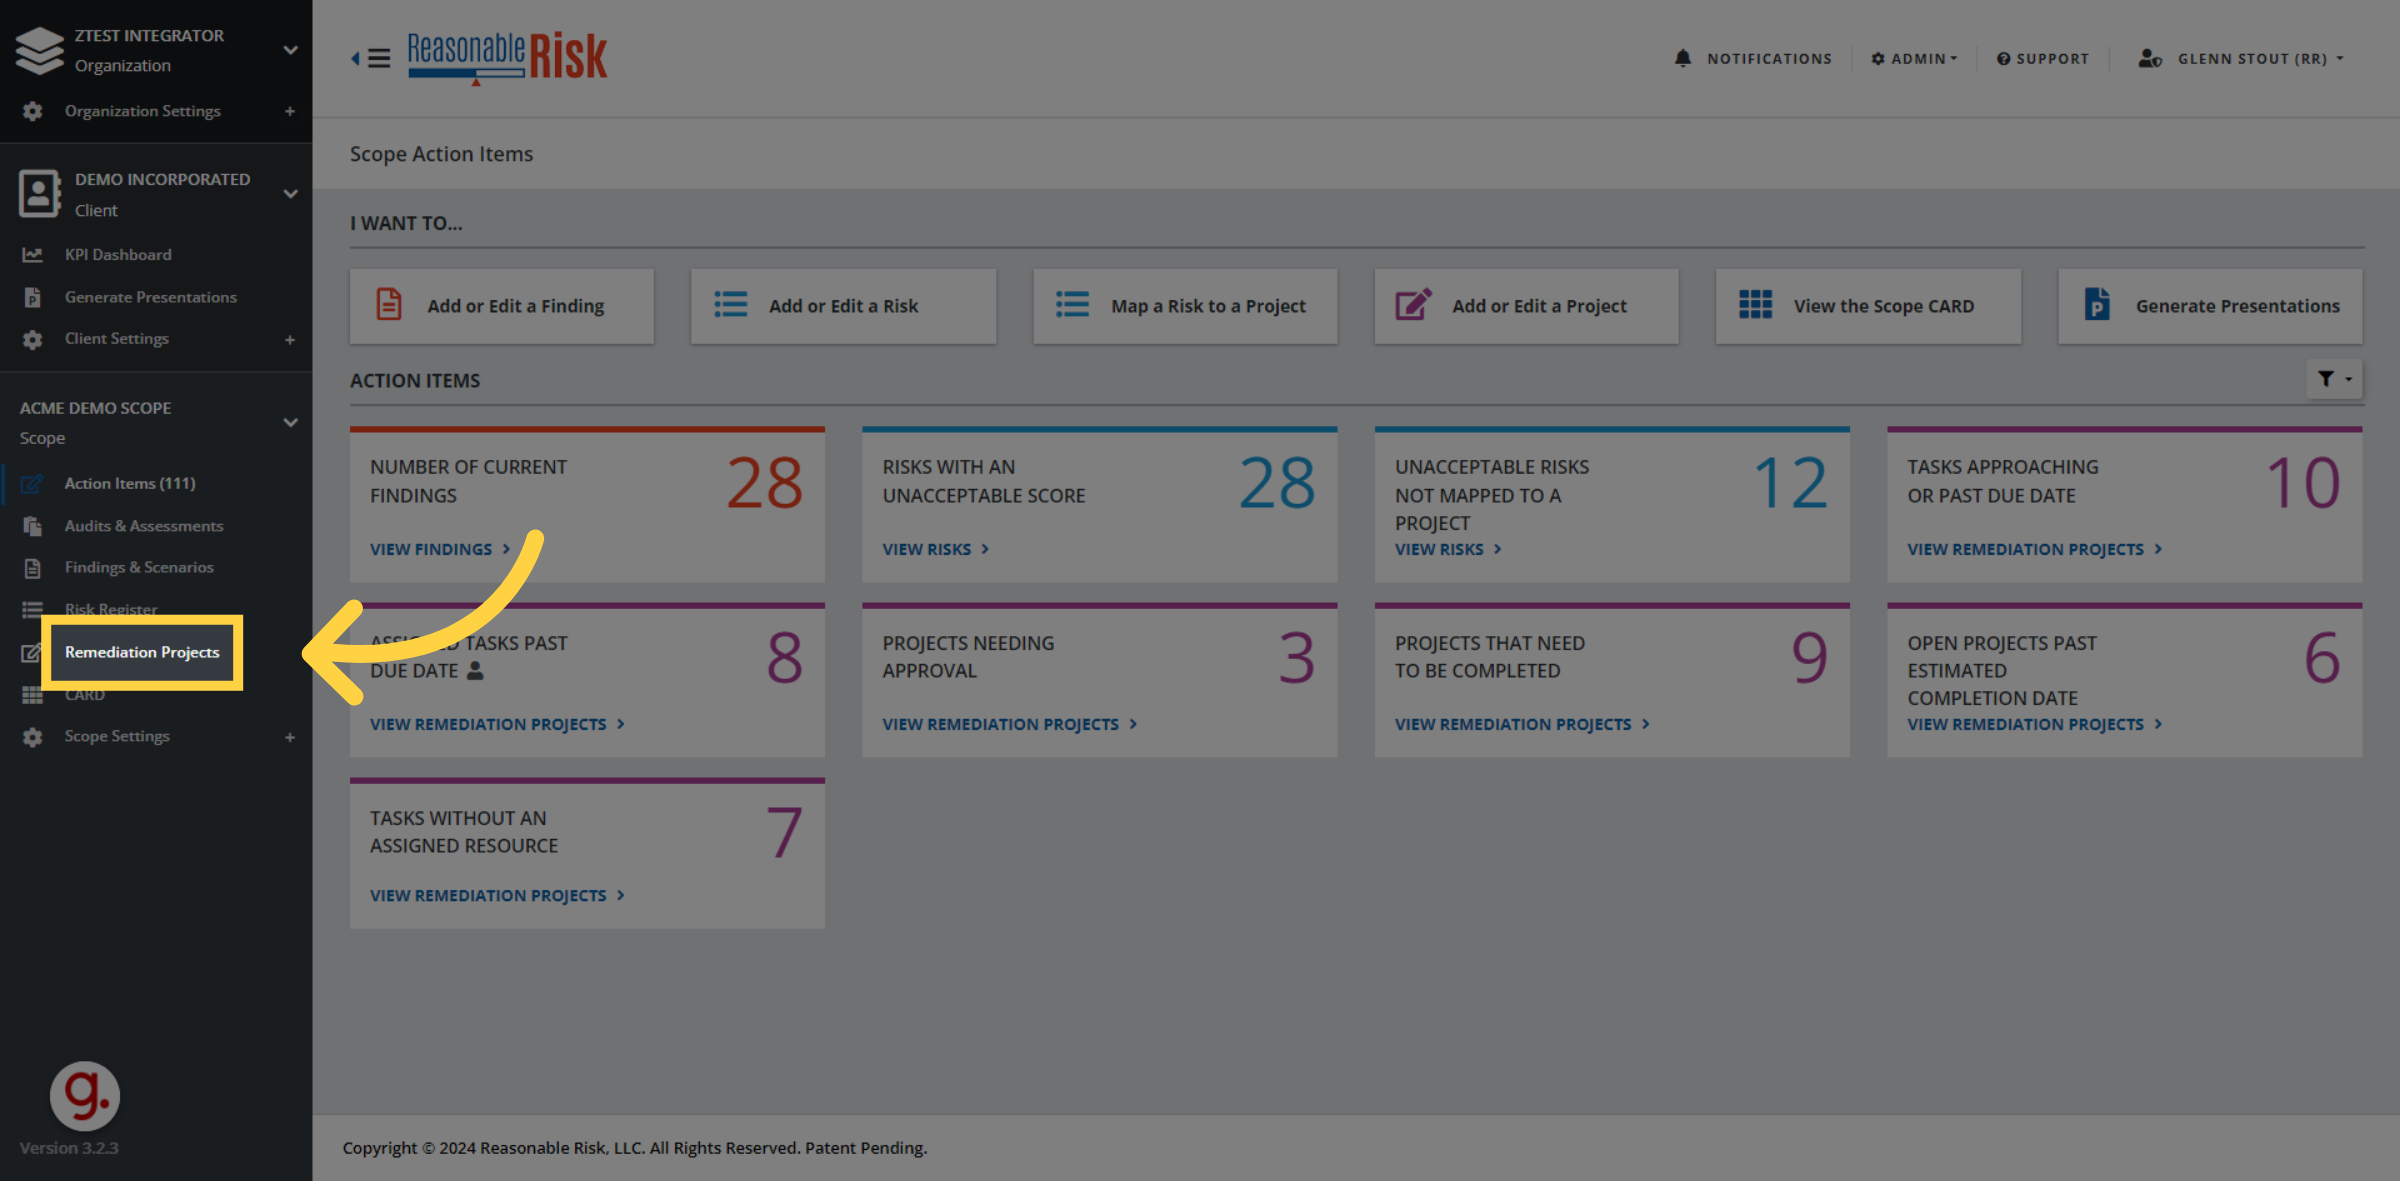
1. Click "Remediation Projects"
First, we need to access the Remediation Projects section.
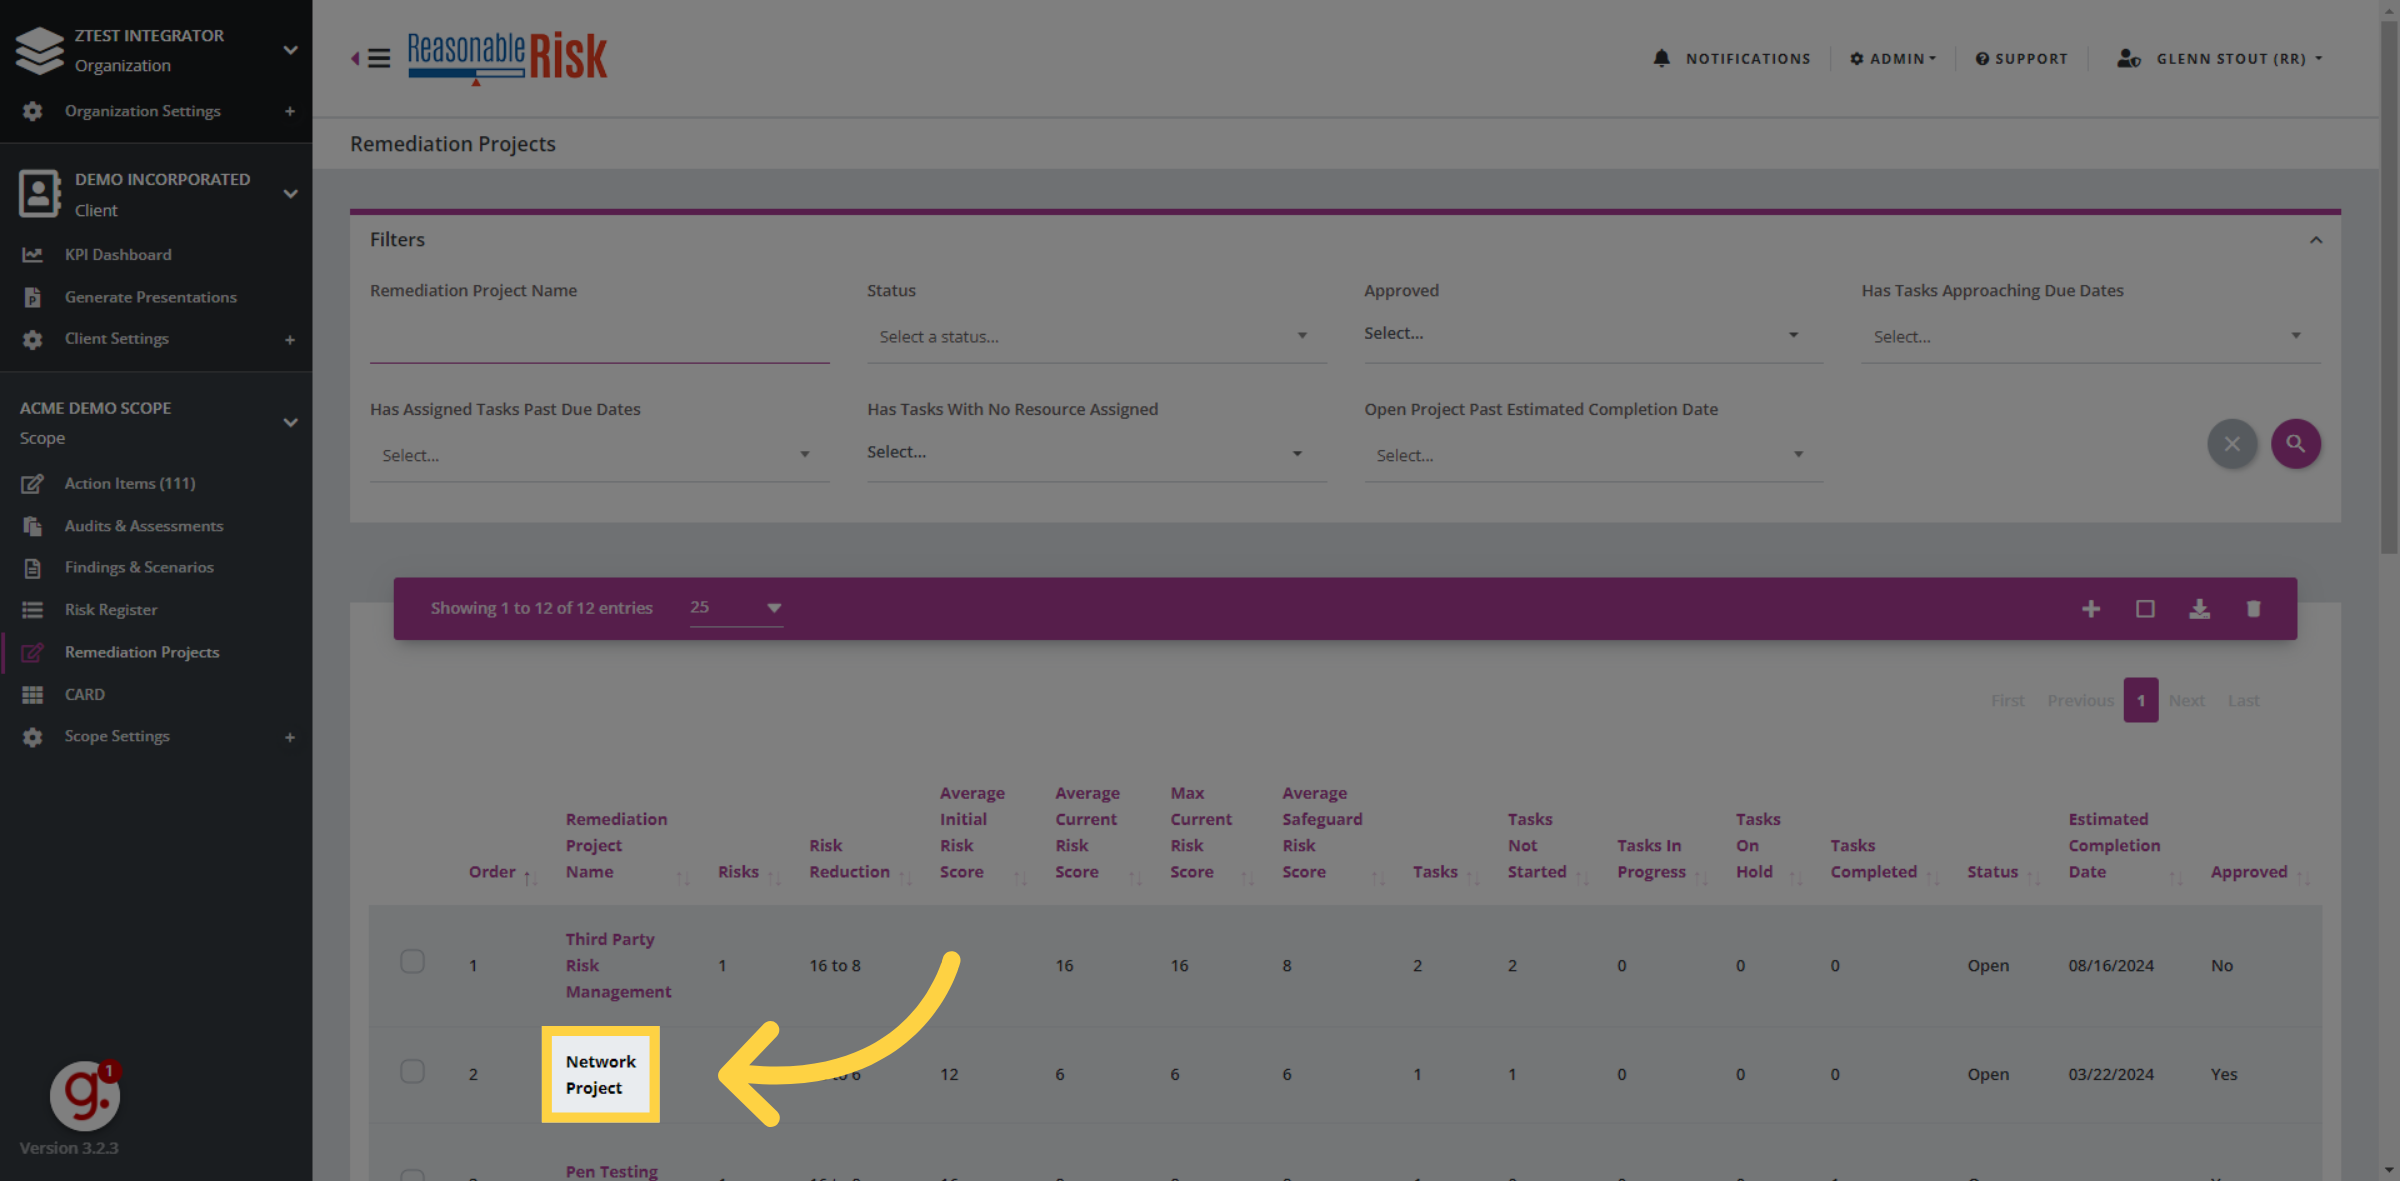
2. Select a project
Navigate to a project, and click on it. In this example, we will click on the network project.
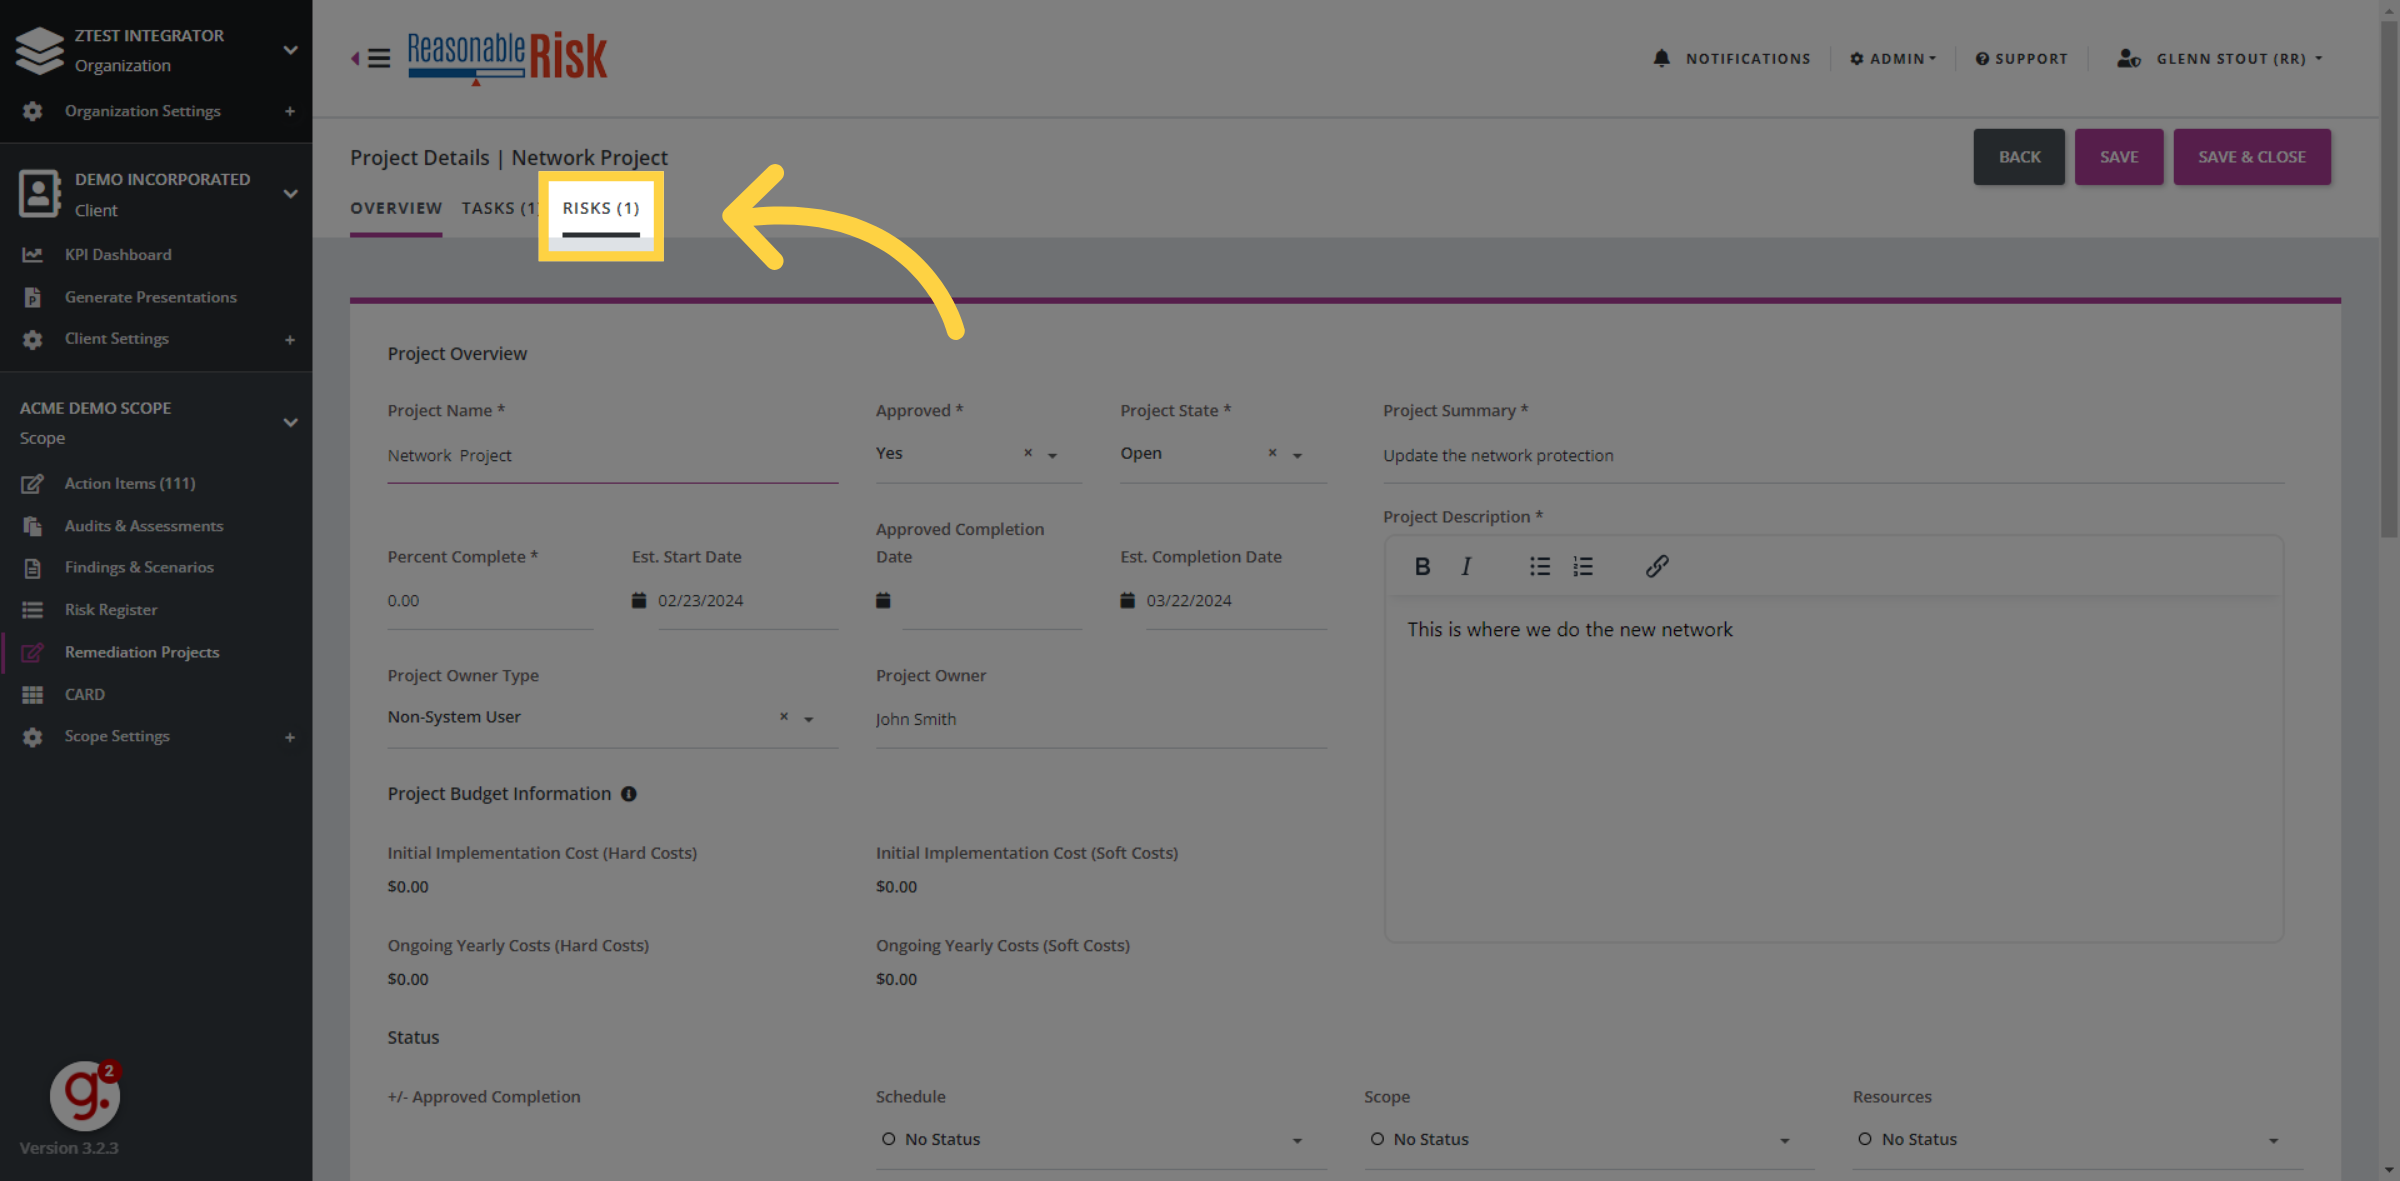
3. Click the Risks Tab
Go to the risks tab to find the risk that we want to associate our comment to.
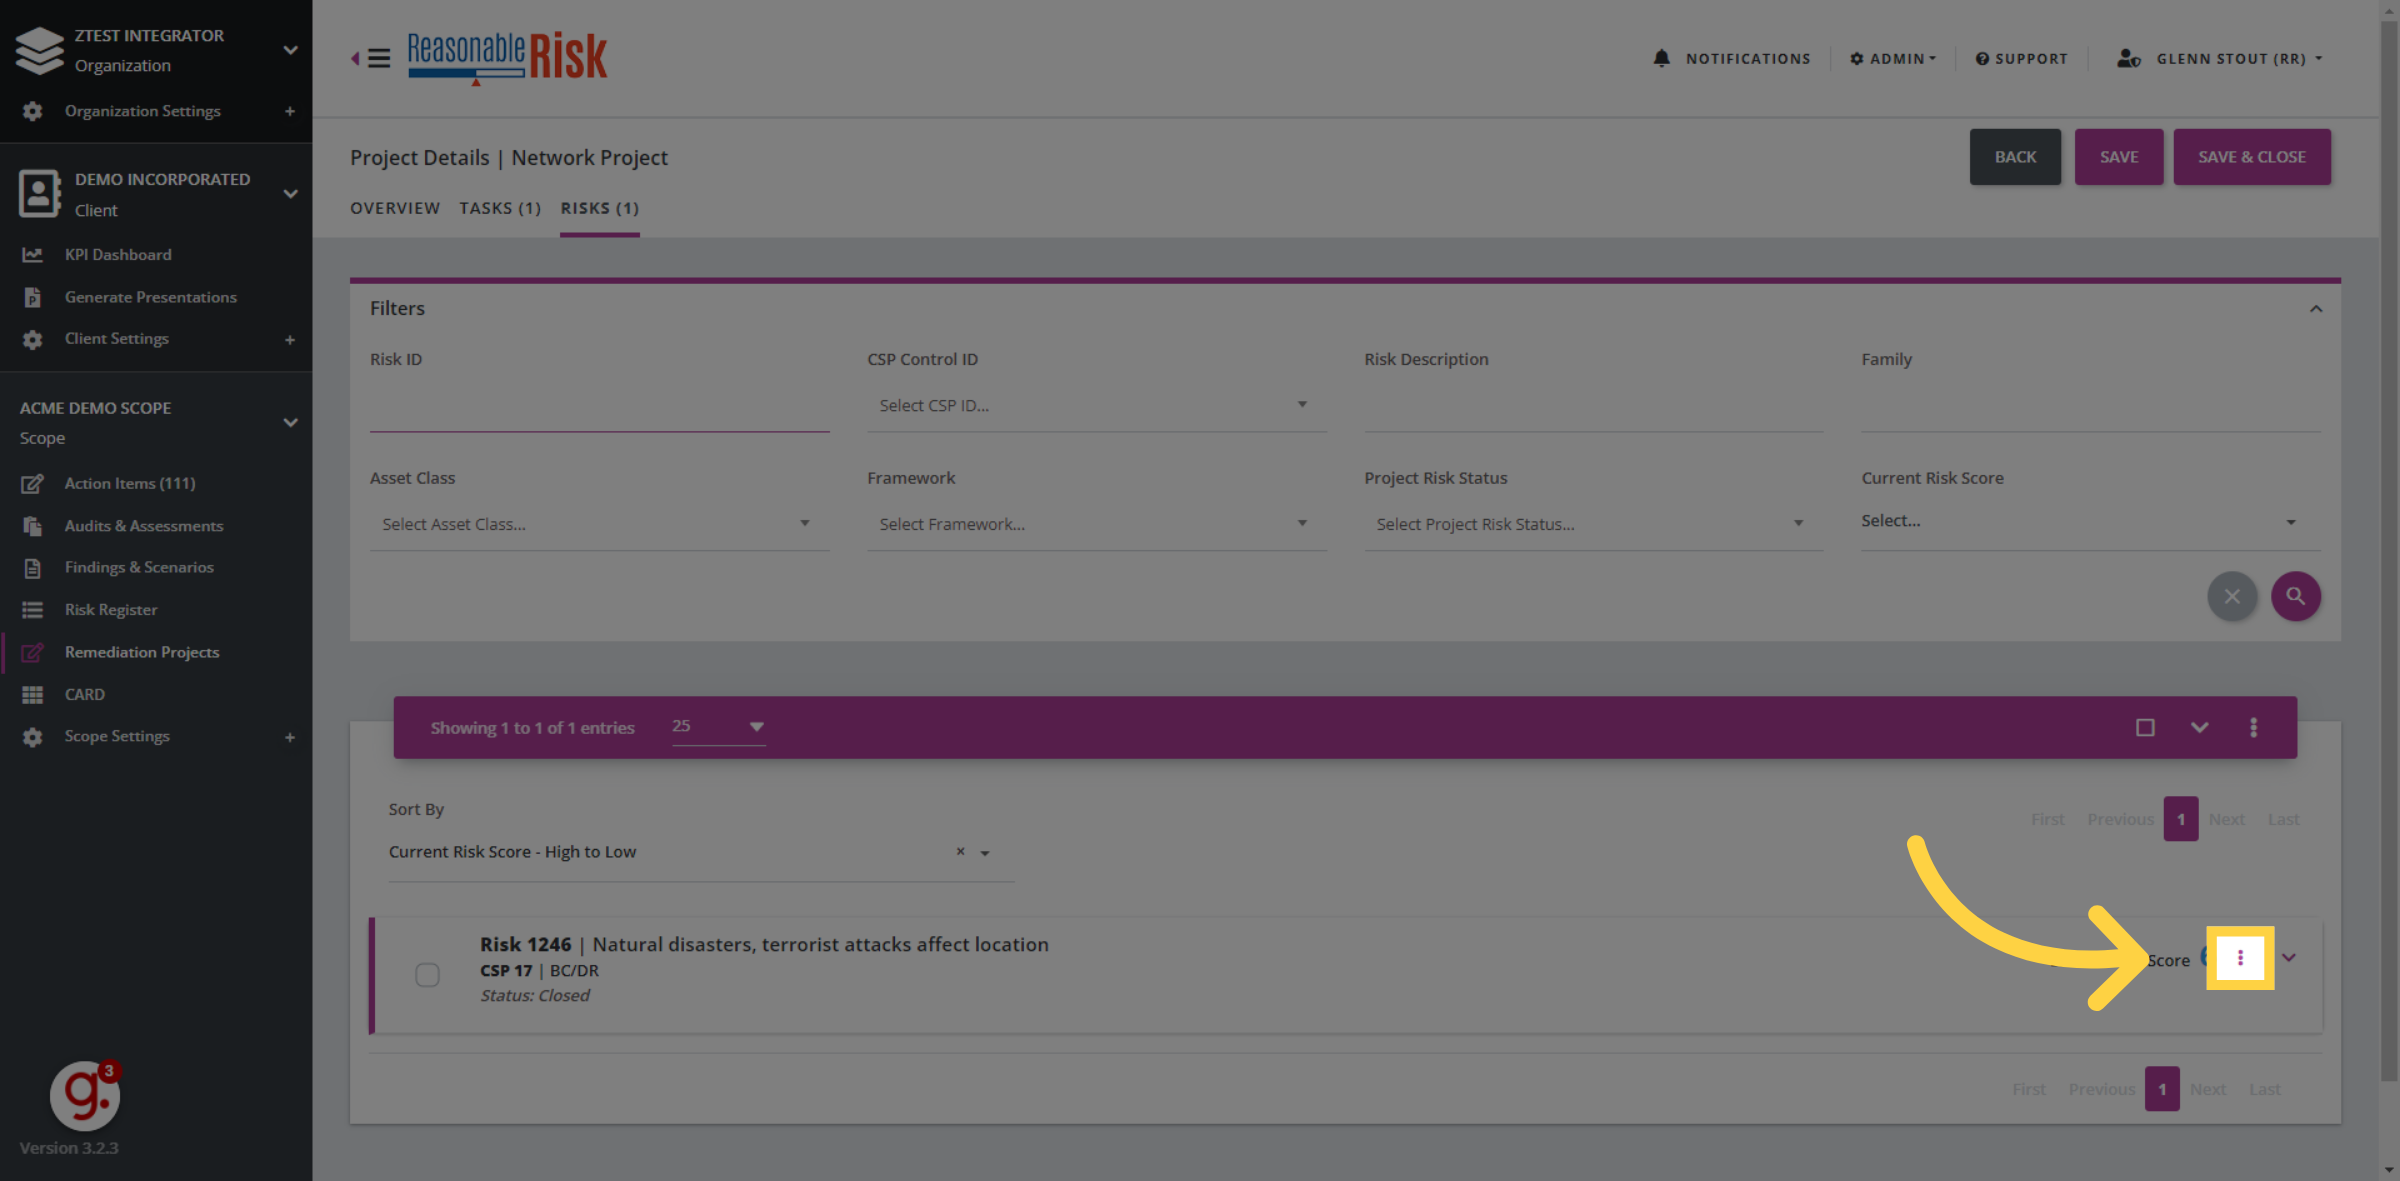
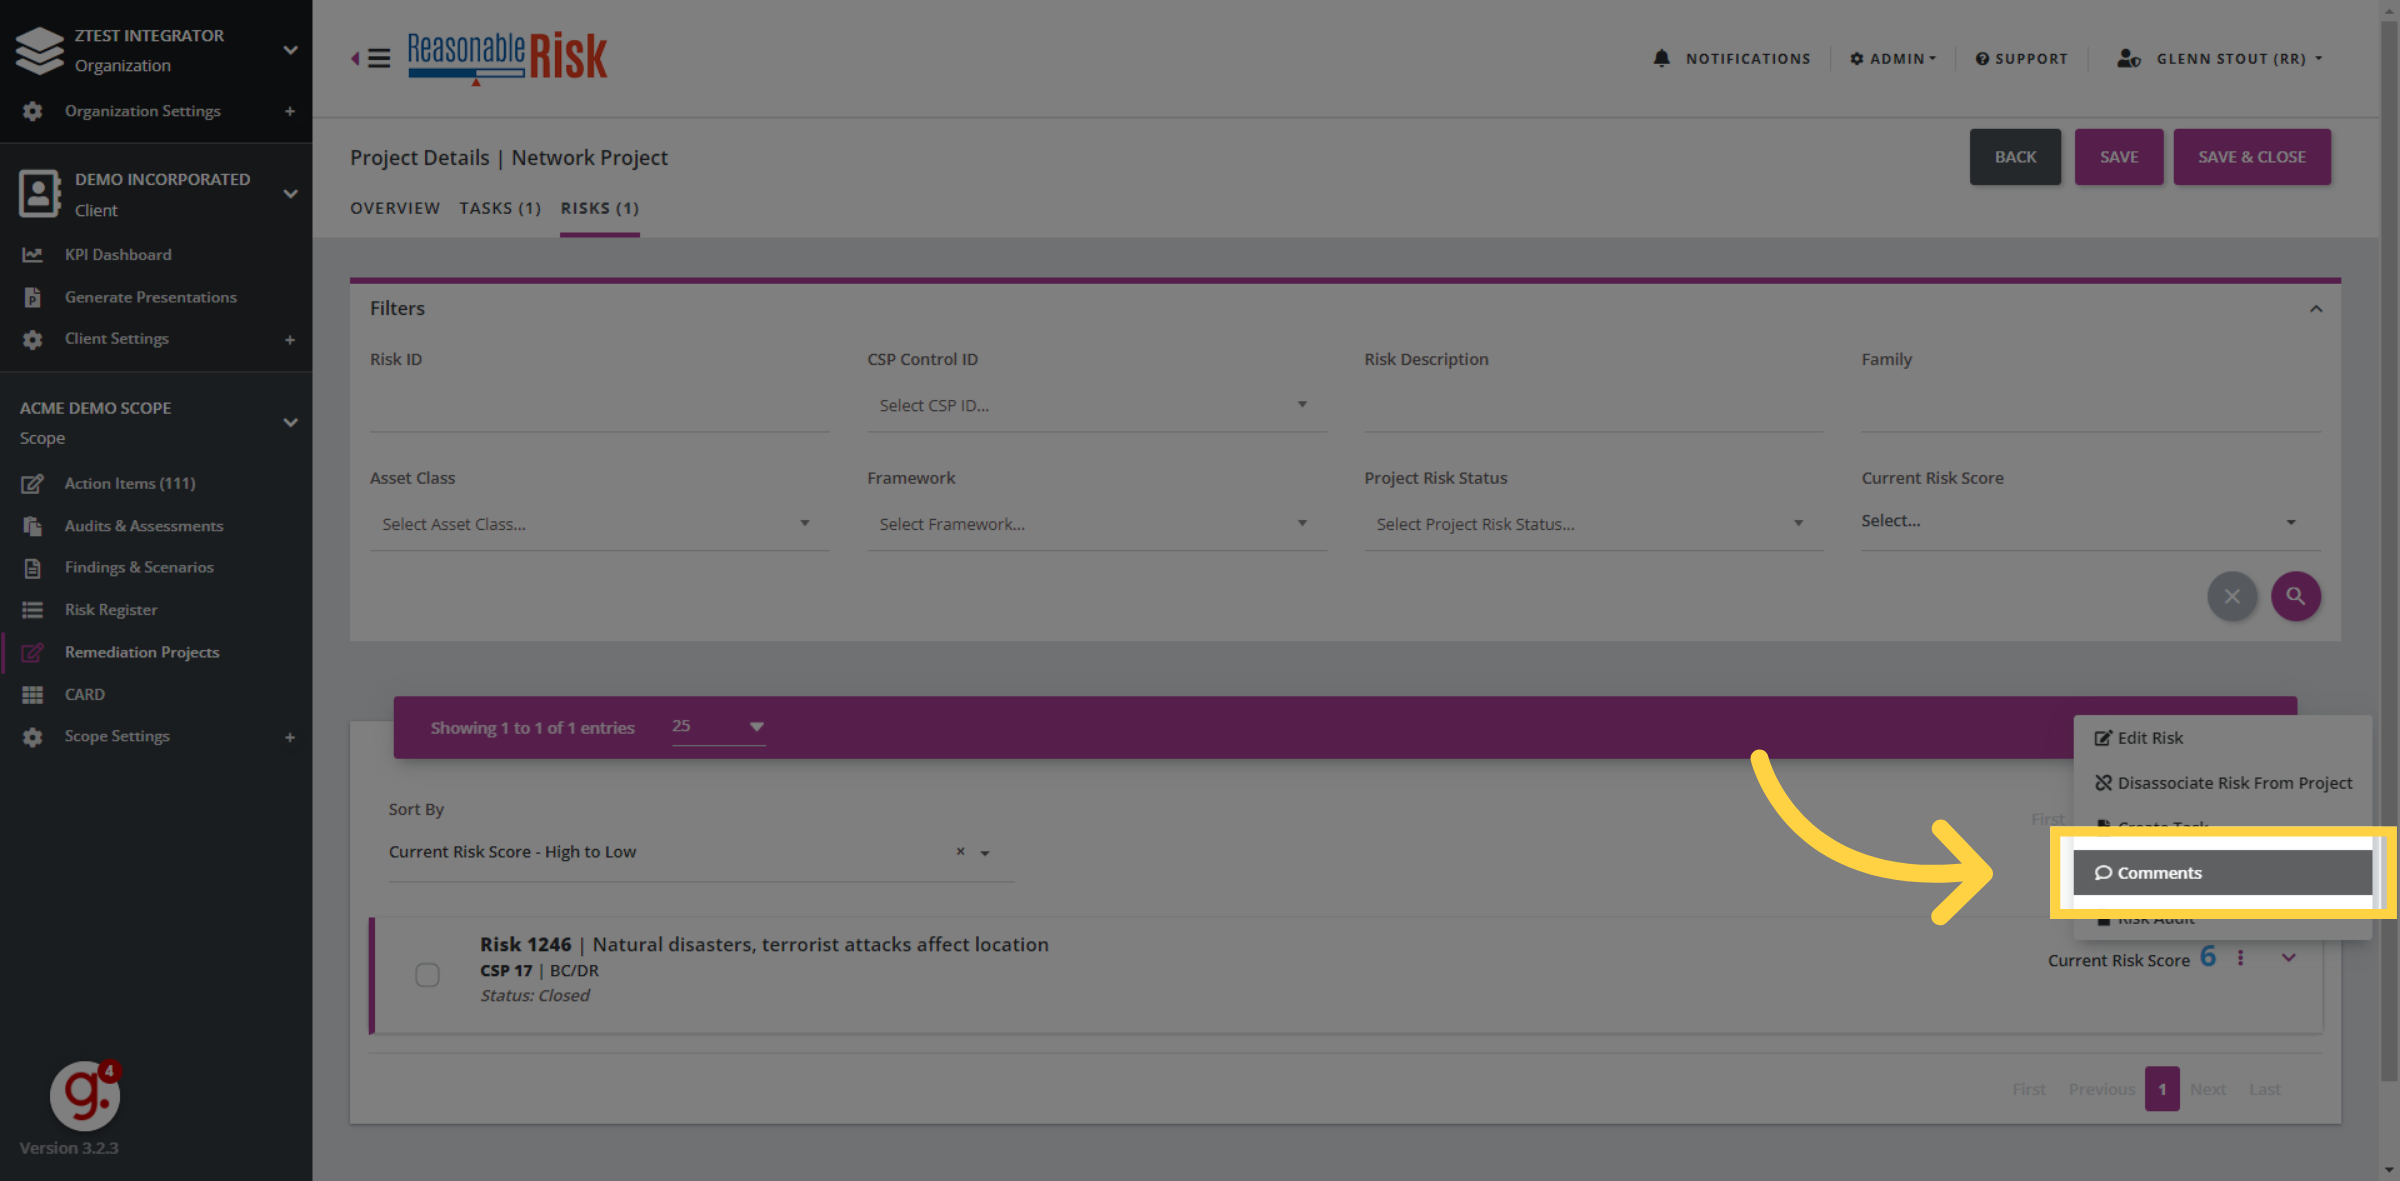
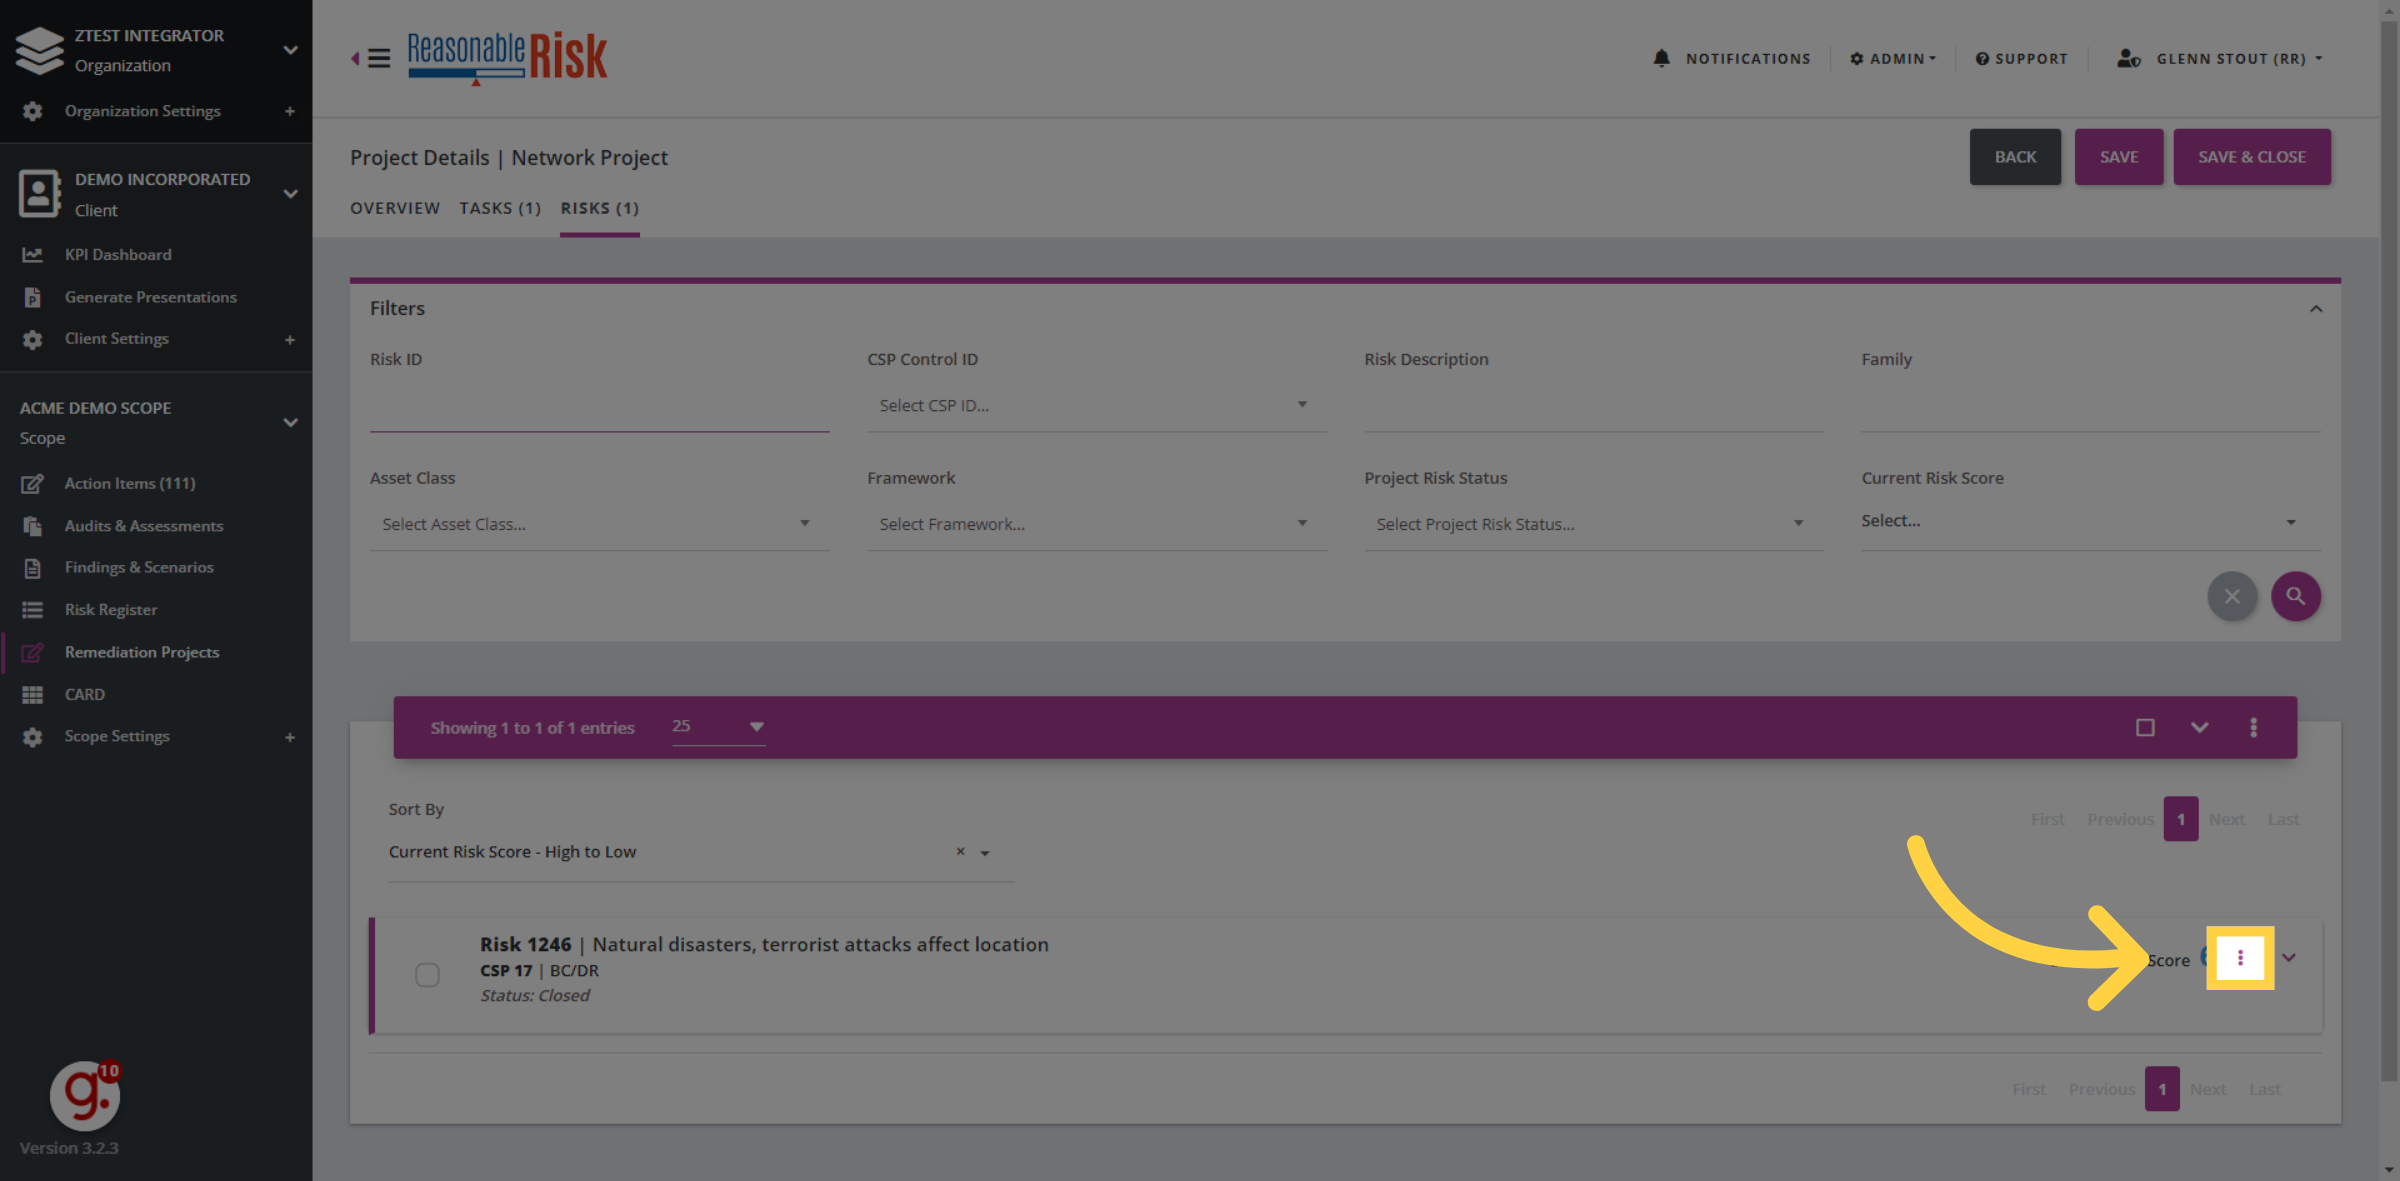
4. Click the "three dot" menu
Once you see the risk that you wish to associate your comment to, click the "three dot" menu on the particular risk.
5. Click "Comments"
Within that submenu, select comments to open up the comments pane.
6. Switch to here
When the comments pane is open, you are able to enter comments that are associated to the risk.
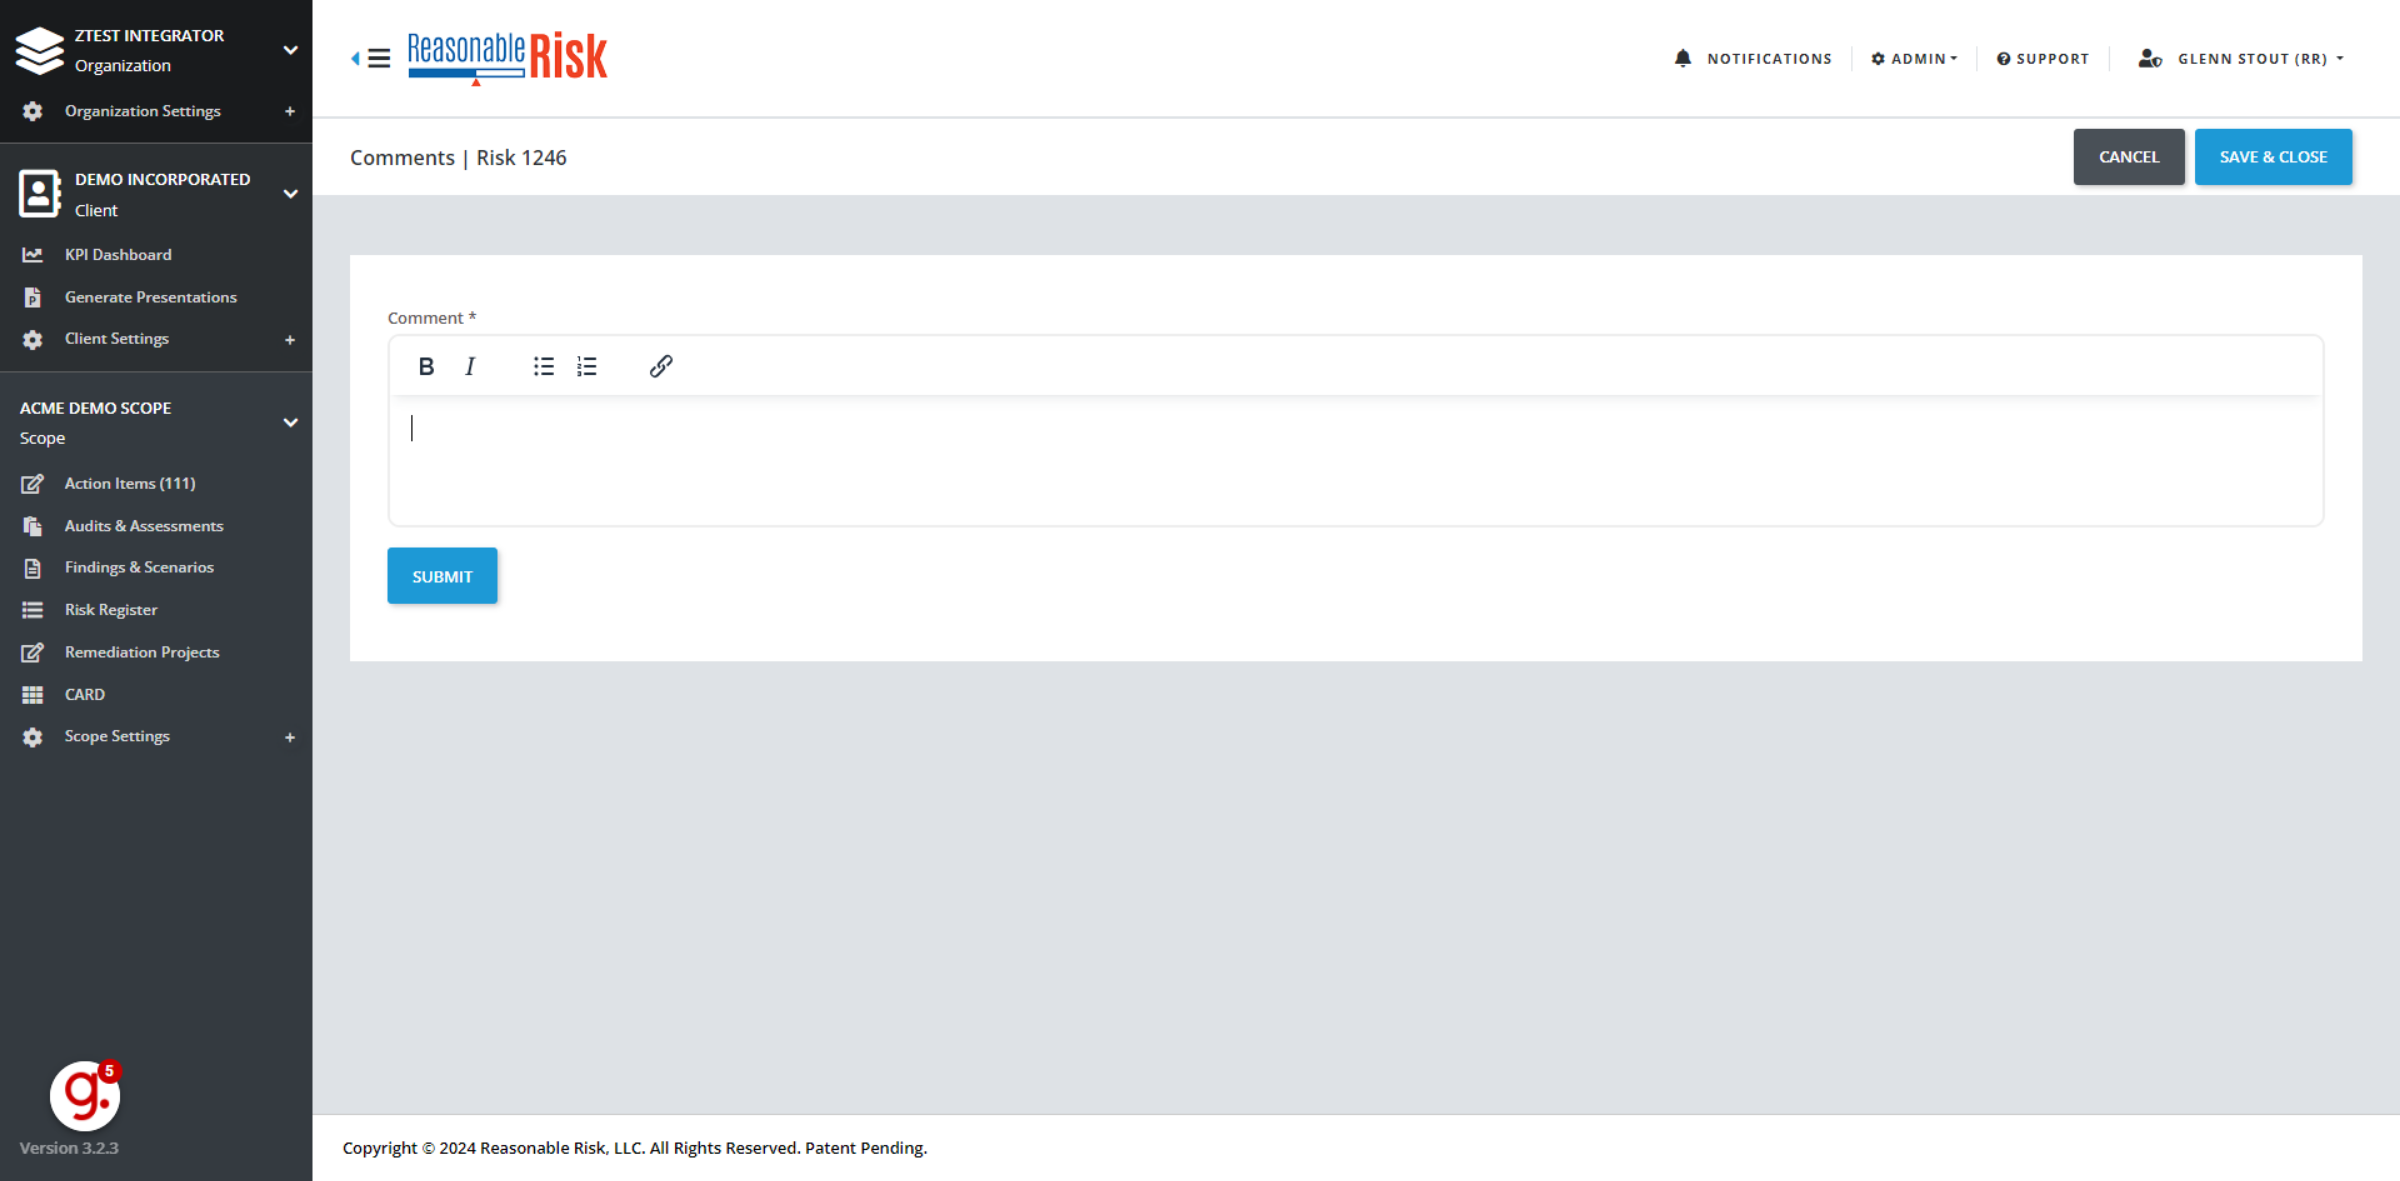
7. Switch to "demo.reasonablerisk.com"
In this example we simply typed in some information, and we are getting ready to click the submit button.

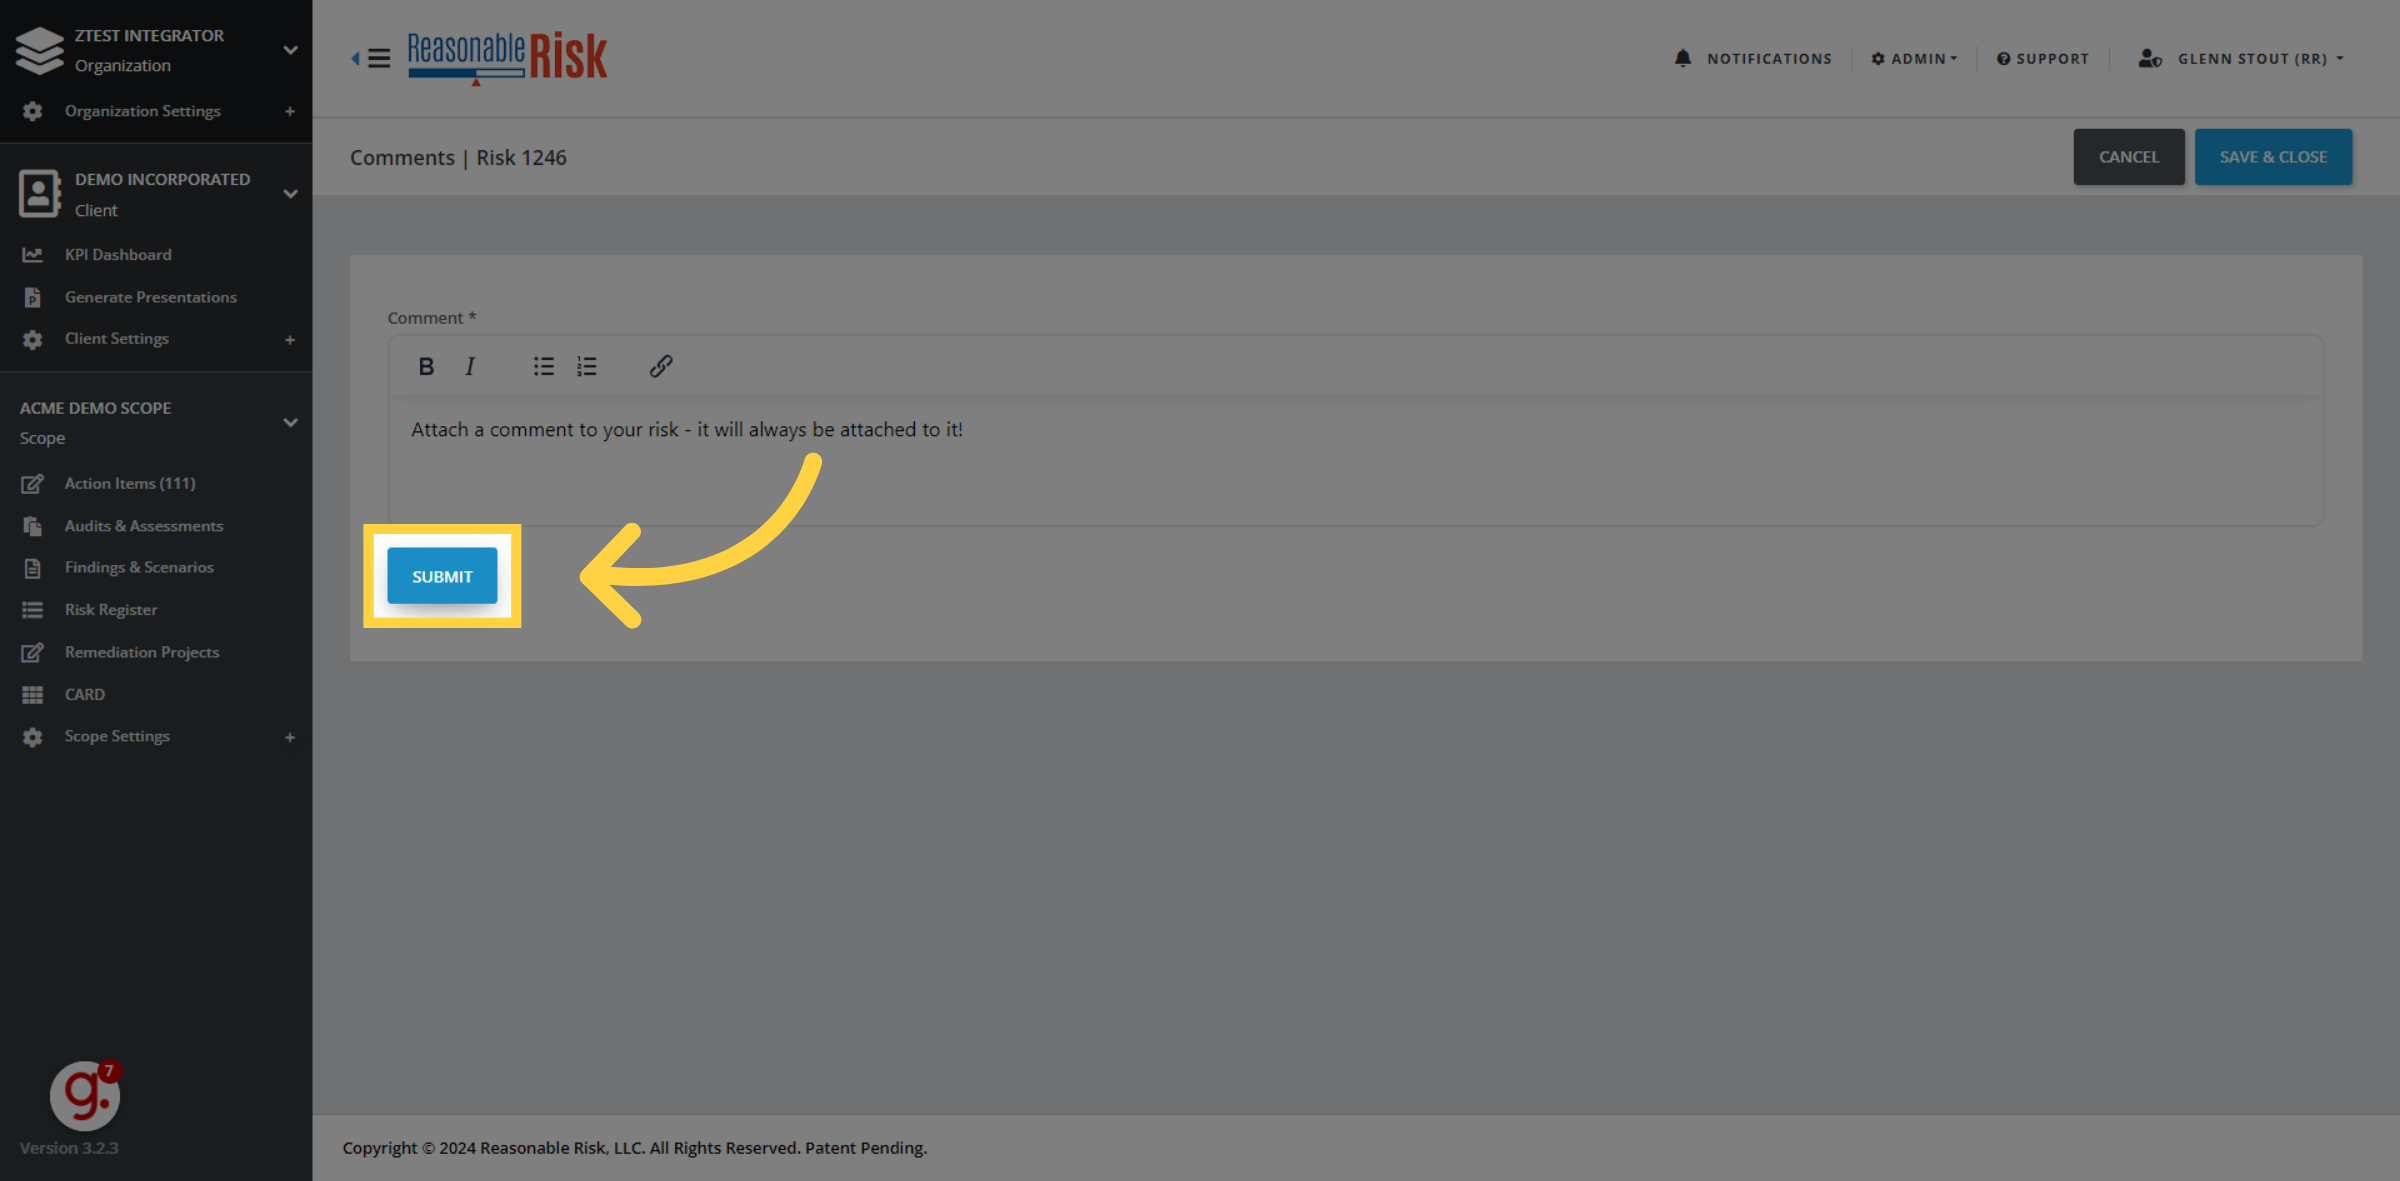
8. Click "Submit" to save your comment
Click the submit button to save your comment. You can add additional comments over and over again by clicking submit each time. It is rich text, so you can use the bold and italics features as part of your text, as well as the bullet point and numbered list features above. You can even add a hyperlink to your, it using the hyperlink feature as well.
9. Click "Cancel"
To close this screen, select the cancel button.
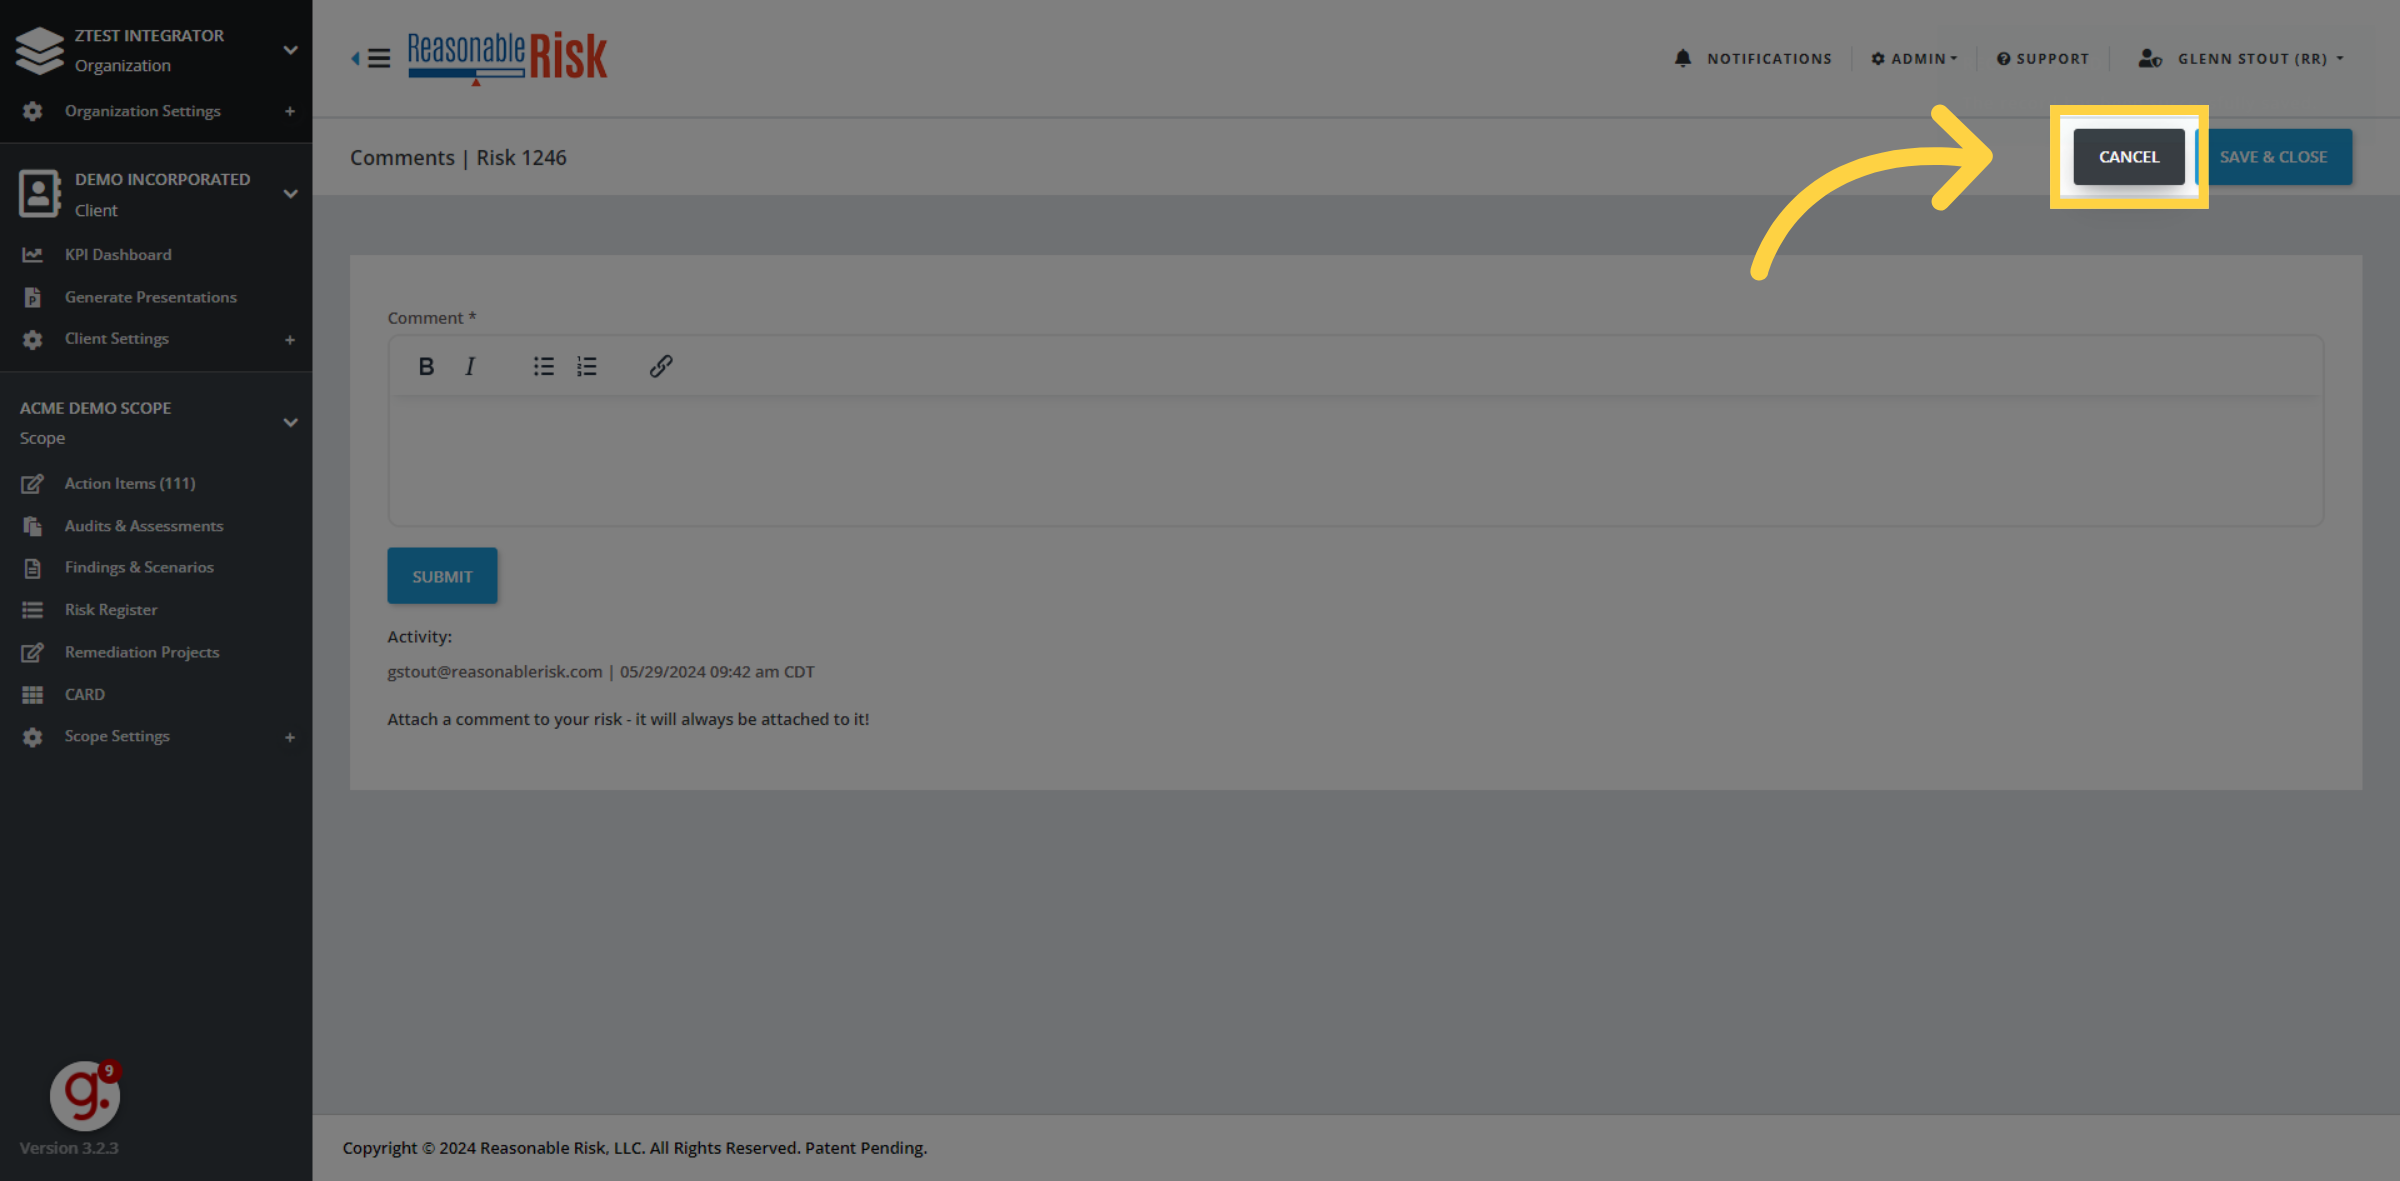
10. To review your comment - re-select the 3 dot menu
If we want to review the comment that we just entered, we can go back and select the 3 dot menu once again.
11. Click "Comments"
Access the Comments sub-menu.

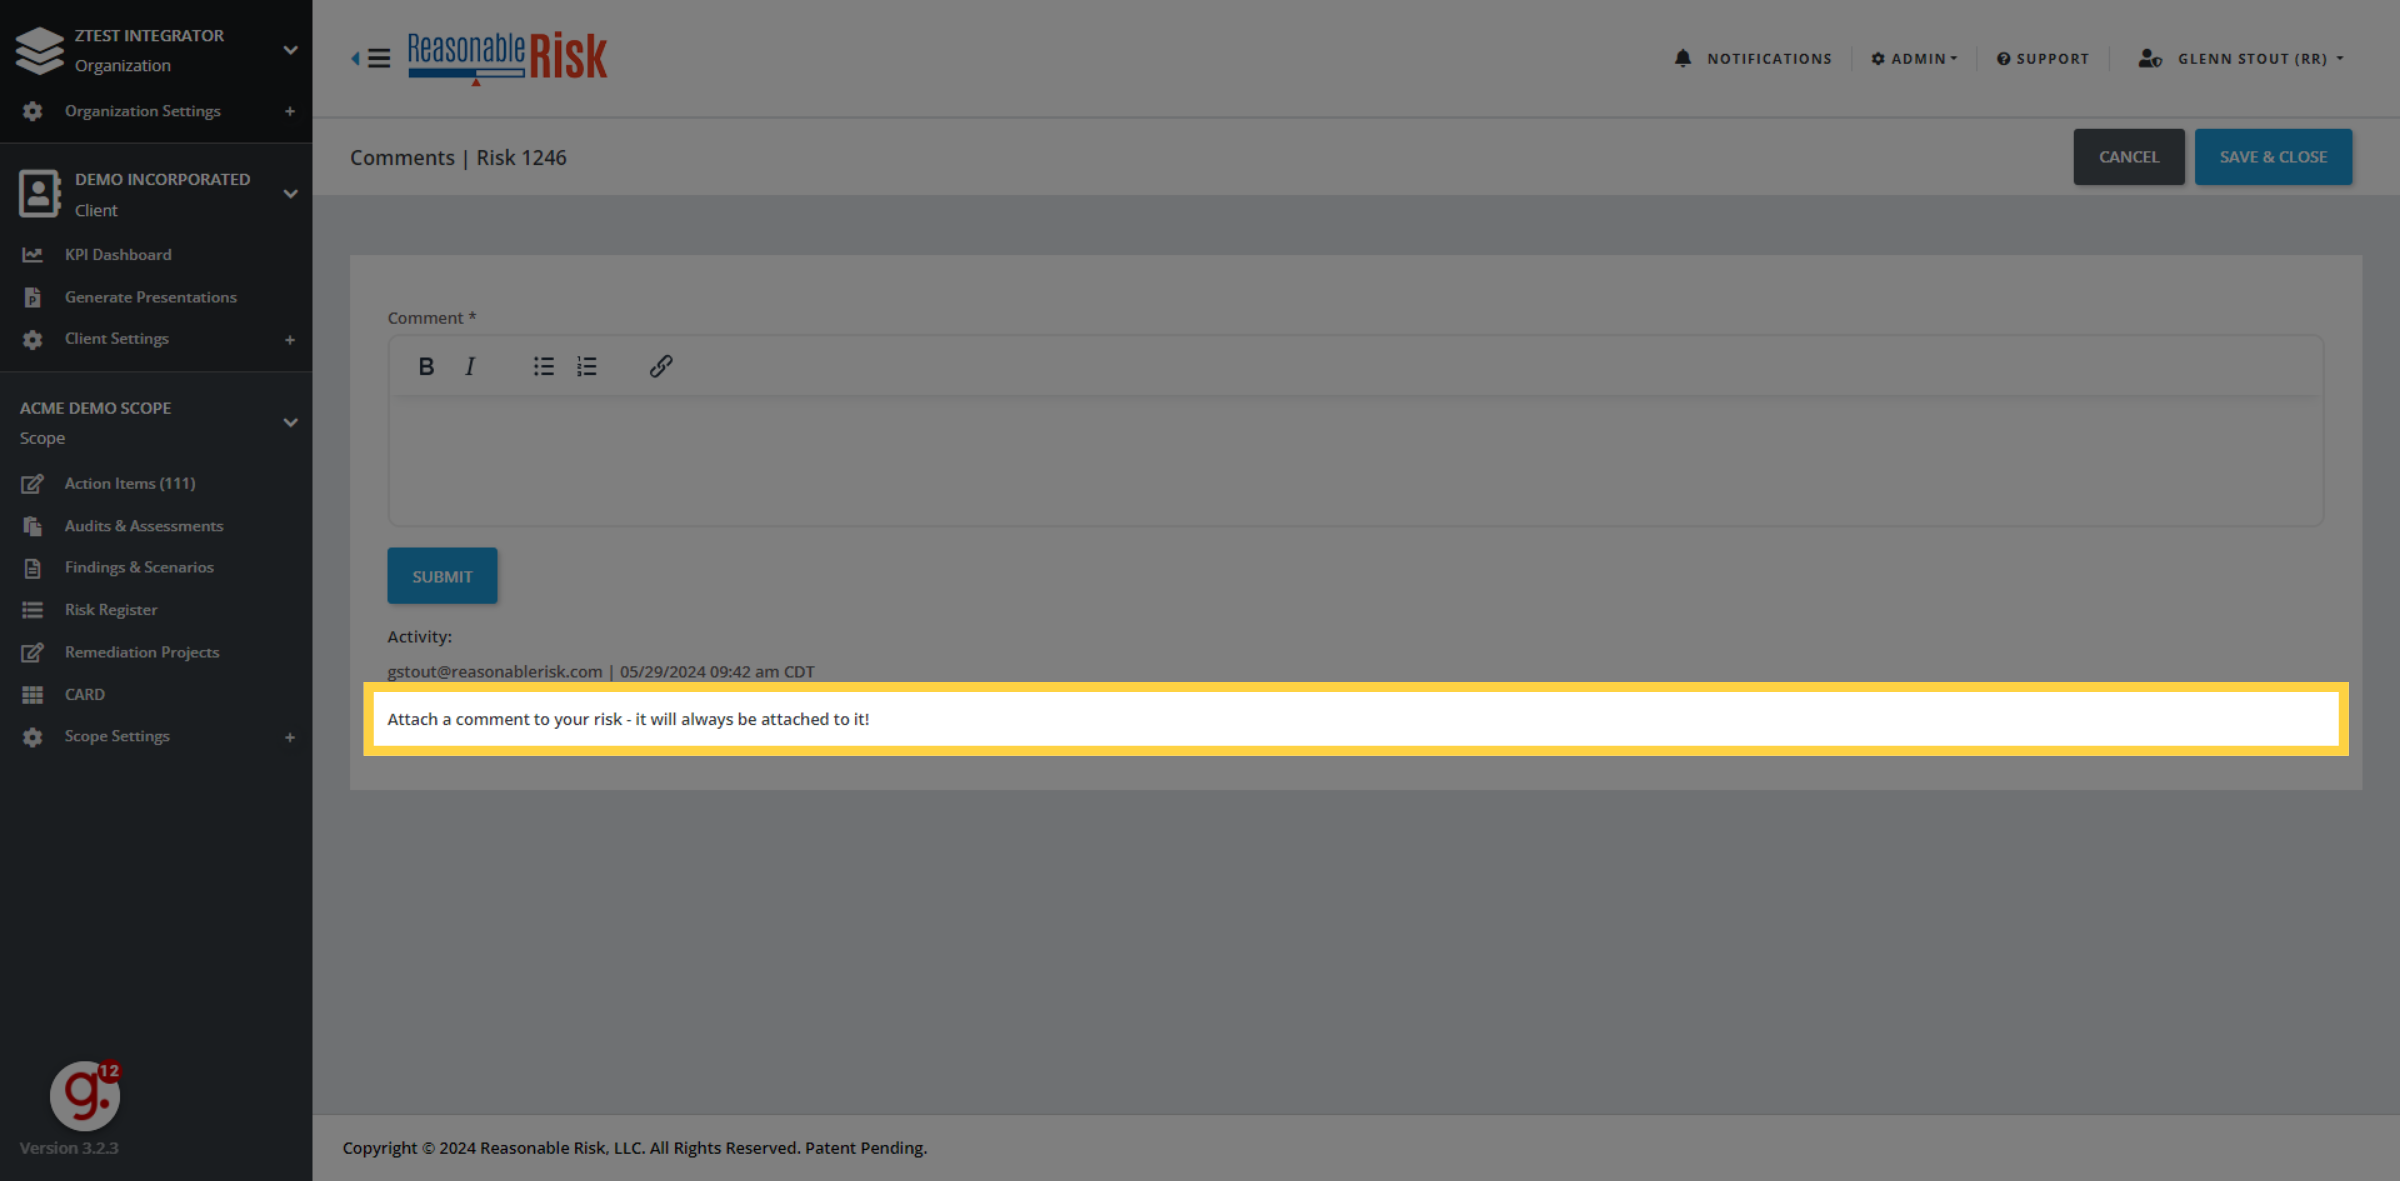
12. Click "Attach a comment to your risk - it will always be attached to it!"
And now you can review the comments that we just entered a moment ago. Notice that you cannot edit comments that have been attached to a risk.
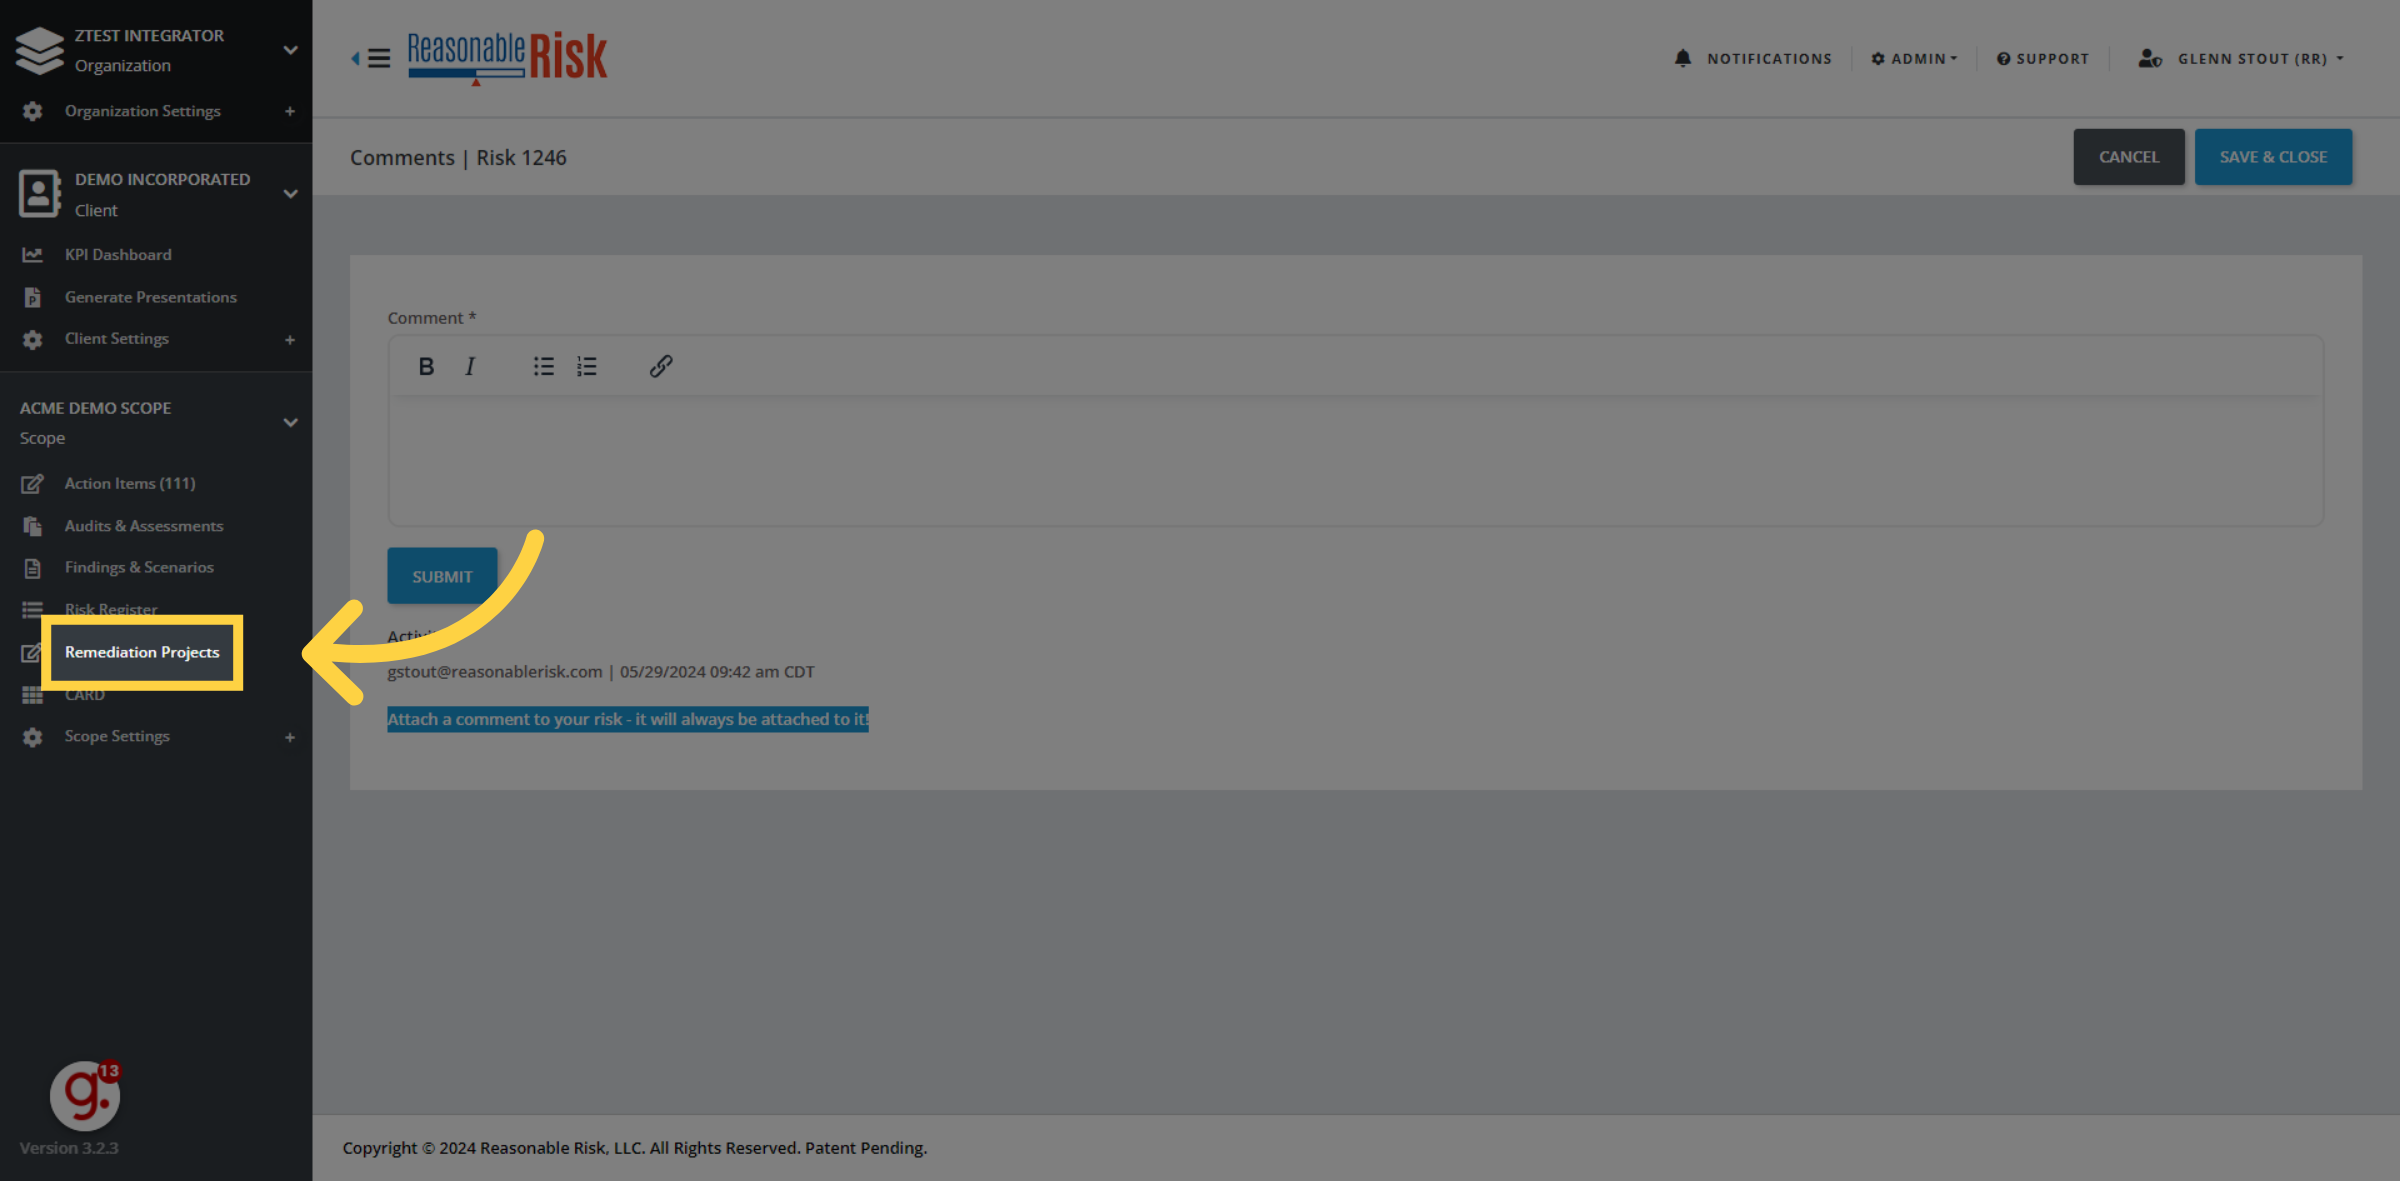
13. Click "Remediation Projects"
To return back, click on remediation projects to return back to your project listing, or cancel if you wish.
Comments
0 comments
Please sign in to leave a comment.